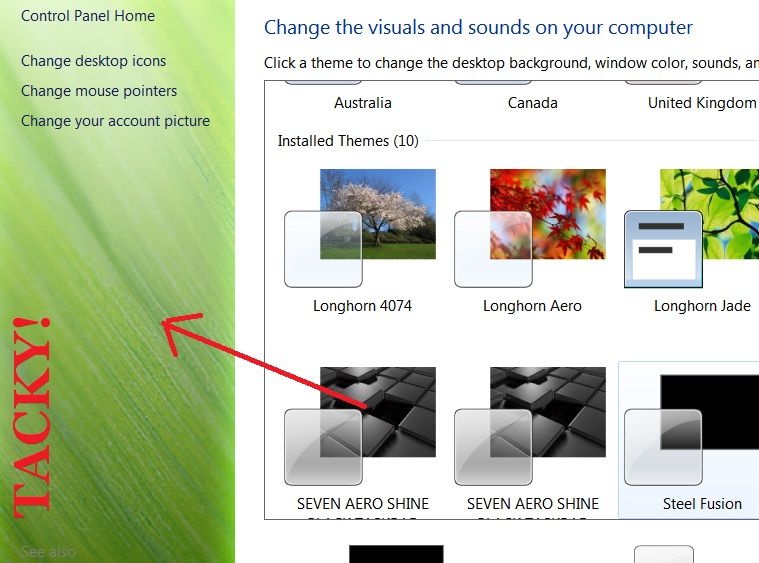
For the control panel that would be bitmaps #632 and #633 in the shell32.dll in both(because you have 64-bit) C:\Windows\System32 and C:\Windows\SysWOW64 you will need to edit the bitmaps with a image editor.
Look at this tutorial from Step 7 http://www.sevenforums.com/tutorials/73191-icons-change-using-resource-hacker.html will show you how to use Resource Hacker chose to use shell32.dll and bitmap instead.
Hint: I would get copies of the shell32.dll and put them on your desktop and edit them from their do not get the .dlls mixed up put them in separate folders on your desktop.
To properly change a system file you need to take ownership give yourself permission and rename the old file and then copy in the new one look at Post #6 of this thread will tell you how to do it http://www.sevenforums.com/customization/179502-basic-networking-information.html#post1525656
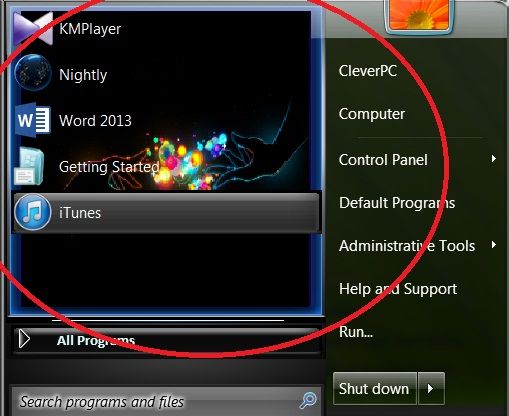
For the start menu if you could post a link to the theme you are using I would be able to tell you what image # that is, it would be in the .msstyles in C:\Windows\Resources\Themes\THEME NAME folder.
Jerry
Last edited:
My Computer
Computer type
Laptop
Computer Manufacturer/Model Number
Sager NP9170
OS
Win 7 Pro x64 / Win 10 Pro
CPU
Intel(R) Core(TM) i7-3630QM CPU @ 2.40GHz
Motherboard
CLEVO P170EM
Memory
12 GB
Graphics Card(s)
(1) Intel(R) HD Graphics 4000 (2) NVIDIA GeForce GTX 675M
Sound Card
(1) Realtek High Definition Audio (2) Intel(R) Display Aud
Monitor(s) Displays
17.3
Screen Resolution
1920x1080
Hard Drives
(1) Samsung 860 EVO 500GB(OS) (1) Samsung 860 EVO 500GB(Data)
Keyboard
Backlite
Antivirus
MSE, Malwarebytes Pro
Browser
Firefox
Other Info
DESKTOP: Custom-built.
OS: Win 10 Pro x64.
CASE: Rosewill R5.
CPU: Intel I5 4670K CPU @ 3.40GHz.
CPU COOLER: Cool Master Hyper 212 EVO.
MOTHERBOARD: Asus Z87-A.
MEMORY: Kingston HyperX 2x4 GB.
GPU: Nvidia Geforce 650 TI.
PSU: Corsair TX750.
DRIVES: (1) Samsung 840 120 GB SSD (2) Western Digital blue 500 GB 7200 RPM.