How to Add or Remove "Disk Cleanup" from Properties Page of a Drive in Windows
InformationThis tutorial will show you how to add or remove the Disk Cleanup button in the properties page of hard drives in Vista, Windows 7, and Windows 8.
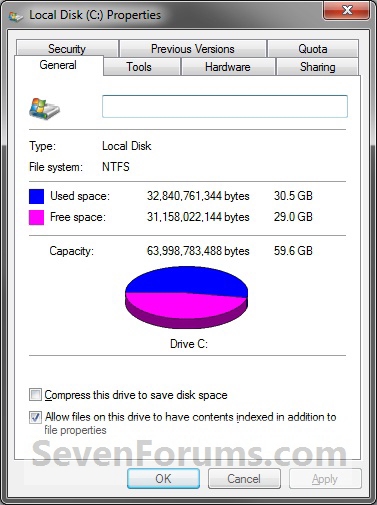
EXAMPLE: Disk Cleanup Button
NOTE: This is the with the Disk Cleanup button displayed by default and removed.
Here's How:1. To Remove "Disk Cleanup" button from Drive PropertiesThat's it,A) Set the Recycle Bin to permanently delete files for the hard drive that you want to add the Disk Cleanup button back to. (See screenshot below)2. To Add Disk Cleanup button to Drive Properties
NOTE: Select (dot) Don't move files to the Recycle Bin. Remove files immediately when deleted., then click on OK. B) Go to step 3.
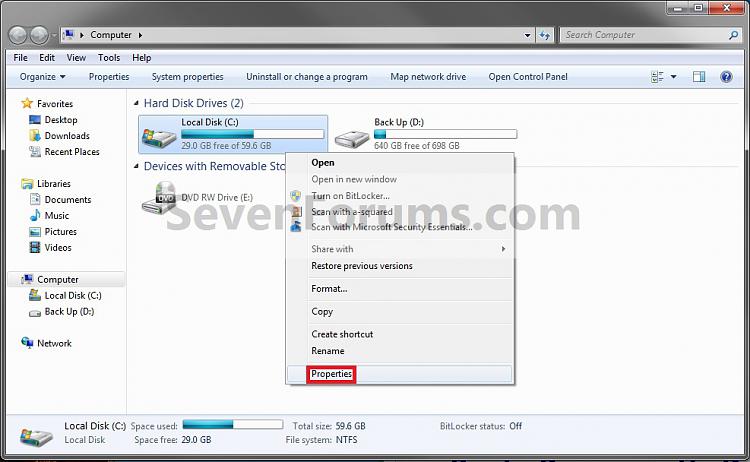
NOTE: This is the default setting.A) Set the Recycle Bin to not permanently delete files for the hard drive that you want to add the Disk Cleanup button back to. (See screenshot above)3. Open the Computer (Vista/Windows 7/8) or This PC (Windows 8.1) window, and right click on the hard drive that you did this for and click/tap on Properties to see the change.
NOTE: Select (dot) Custom size., then click on OK.
WARNING: You should also select (dot) Confirm delete confirmation dialog so that you do not accidentally delete something permanently.
B) Go to step 3.
Shawn
Related Tutorials
- Set Recycle Bin to Permanently Delete Items Immediately in Windows 7 and Windows 8
- How to Open and Use Disk Cleanup in Windows 7 and Windows 8
- How to Use Extended Disk Cleanup in Windows 7
- How to Add Disk Cleanup to Context Menu in Vista, Windows 7, and Windows 8
- How to Add "Extended Disk Cleanup" to Desktop Context Menu in Windows 7 and Windows 8
Disk Cleanup - Add or Remove from Drive Properties

Disk Cleanup - Add or Remove from Drive Properties
How to Add or Remove "Disk Cleanup" from Properties Page of a Drive in WindowsPublished by Brink
Related Discussions


