

How to Create a Microsoft Security Essentials "Update & Quick Scan" Shortcut
InformationThis will show you how to download or create a shortcut that will open Microsoft Security Essentials (MSE) and automatically check for install available updates for MSE, then automatically performs a quick scan of your system.
WarningYou will need to have Microsoft Security Essentials (MSE) installed on your computer before this shortcut will work.
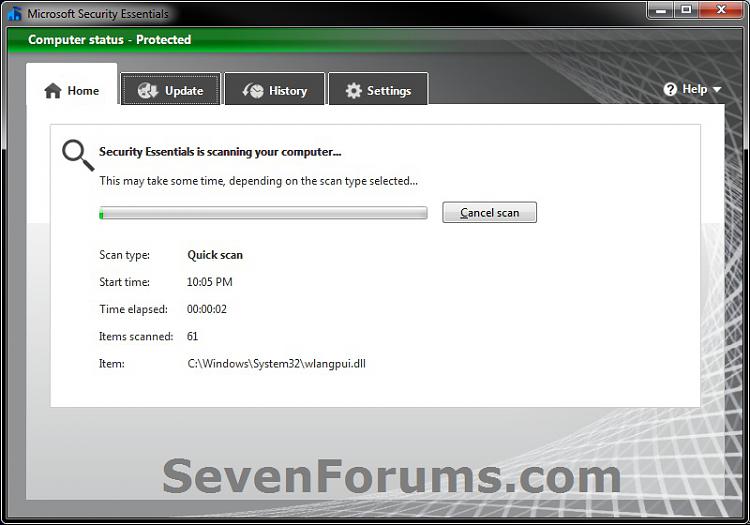
EXAMPLE: Microsoft Security Essentials "Update & Quick Scan"
OPTION ONETo Download the "MSE - Update & Quick Scan" Shortcut
1. Click on the Download button below to download the file below.
MSE-Update&QuickScan.zip2. Save the .zip file to the desktop.
3. Open the .zip file and extract the MSE - Update & QuickScan shortcut to the desktop.
4. Right click on the MSE - Update & QuickScan shortcut, and click on Properties, General tab, and on the Unblock button.
NOTE: If you do not have a Unblock button under the General tab, then the shortcut is already unblocked and you can continue on to step 5.
5. You can now Pin to Taskbar or Pin to Start Menu this shortcut, assign a keyboard shortcut to it, or move it where you like for easy use.
6. When done, you can delete the downloaded .zip file if you like, or save it to use again.
OPTION TWOTo Manually Create the "MSE - Update & Quick Scan" Shortcut
1. Right click on a empty area on desktop, and click on New and Shortcut.
2. Copy and paste the location below into the location area, and click on the Next button. (see screenshot below)Code:"%ProgramFiles%\Microsoft Security Client\msseces.exe" -UpdateAndQuickScan3. Type MSE - Update & QuickScan for the name, and click on the Finish button. (see screenshot below)That's it,
NOTE: You can name this anything you would like though.
4. Right click on the new MSE - Update shortcut on the Desktop and click on Properties.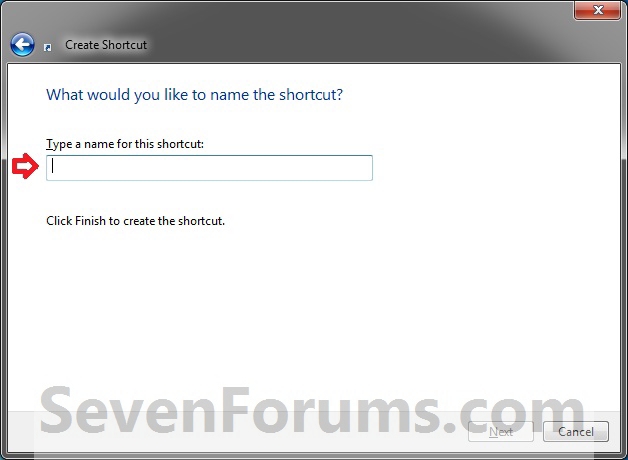
5. Click on the Shortcut tab, then click on the Change Icon button. (see screenshot below)
6. In the line under "Look for icons in this file", copy and paste the location below and press Enter. (see screenshot below)
%ProgramFiles%\Microsoft Security Client\eppmanifest.dll7. Select the icon highlighted in blue above and click on OK. (see screenshot above)
NOTE: You can use any icon that you would like instead though.
8. Click on OK. (see screenshot below)
9. You can now Pin to Taskbar or Pin to Start Menu this shortcut, assign a keyboard shortcut to it, or move it where you like for easy use.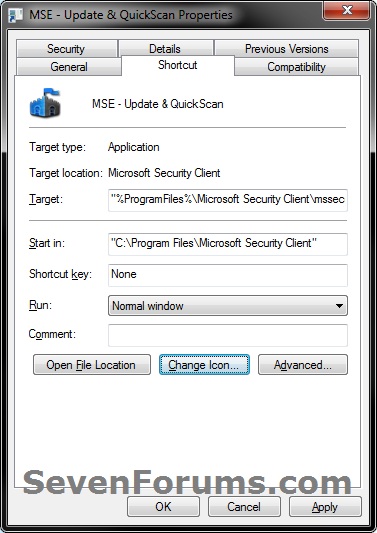
Shawn
Related Tutorials
- How to Install and Use Microsoft Security Essentials
- How to Create a Microsoft Security Essentials "Quick Scan" Shortcut
- How to Create a Microsoft Security Essentials "Update" Shortcut
- How to Create a Microsoft Security Essentials "Full Scan" Shortcut
- How to Create a Microsoft Security Essentials "Settings" Shortcut
- How to Add a "Microsoft Security Essentials" Cascading Desktop Context Menu in Windows 7
- How to Add or Remove "Scan with Microsoft Security Essentials" from Context Menu in Windows
Microsoft Security Essentials - Update & Quick Scan - Create Shortcut

Microsoft Security Essentials - Update & Quick Scan - Create Shortcut
How to Create a Microsoft Security Essentials "Update & Quick Scan" ShortcutPublished by Brink


 Quote
Quote
Related Discussions