


How to Rename a Power Plan Name in Windows 7 and Windows 8
InformationThis tutorial will show you how to rename power plans (schemes) to have any name you would like in Windows 7 and Windows 8.
You will need to be logged in as an administrator to be able to do the steps in this tutorial.
EXAMPLE: Power Plan Renamed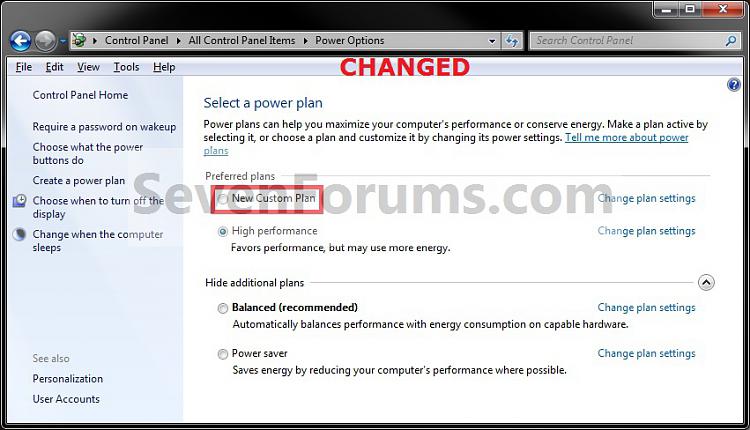
Here's How:1. Open an elevated command prompt in Windows 7 or Windows 8.That's it,
2. To List and See All Power Plans
NOTE: This will give you a list of all of the power plans on your computer with the name and GUID number of each power plan.A) In the elevated command prompt, type in powercfg list and press enter. (see screenshot below)3. In the elevated command prompt, type in the command below (in code box) for the power plan that you want to rename, and press Enter.
Note
- Substitute GUID in the command below for the actual long GUID number of the power plan that you want to rename as displayed in step 2 above.
- Substitute New Name in the command below for the new name that you want to rename the power plan within quotes.
Code:powercfg -changename GUID "New Name"FOR EXAMPLE: If I want to rename the power plan Custom Plan to New Custom Plan (see example screenshots at top of tutorial), then I would type in the command exactly as below and press enter.4. Close the elevated command prompt.
Code:powercfg -changename 11eb7d0f-207d-455e-b86b-f0de0122ba90 "New Custom Plan"
5. The power plan has now been renamed.
Shawn
Related Tutorials
- How to Select a Power Plan in Windows 7
- How to Change the Power Plan Settings in Windows 7
- How to Change Power Plan Settings in Windows 8
- How to Create or Delete a Custom Power Plan in Windows 7 and Windows 8
- How to Restore the Default Power Plan Settings in Windows 7
- How to Create a Shortcut to Change Power Plans in Windows 7 and Windows 8
- How to Create a "Power Options" Shortcut in Windows 7 and Windows 8
- How to Create an "Advanced Power Options" Shortcut in Windows 7
- How to Export and Import Power Plans in Windows 7 and Windows 8
- How to Specify a Default Power Plan for All Users in Vista, Windows 7, and Windows 8
Power Plan - Rename


Related Discussions