

How to Export and Import Power Plans in Windows 7 and Windows 8
InformationThis tutorial will show you how to export and import power plans (schemes) in Windows 7 and Windows 8 to make it easier to reuse them on another computer or restore on your computer with all settings intact.
You will need to be logged in as an administrator to be able to do the steps in this tutorial.
EXAMPLE: Power Plans
Here's How: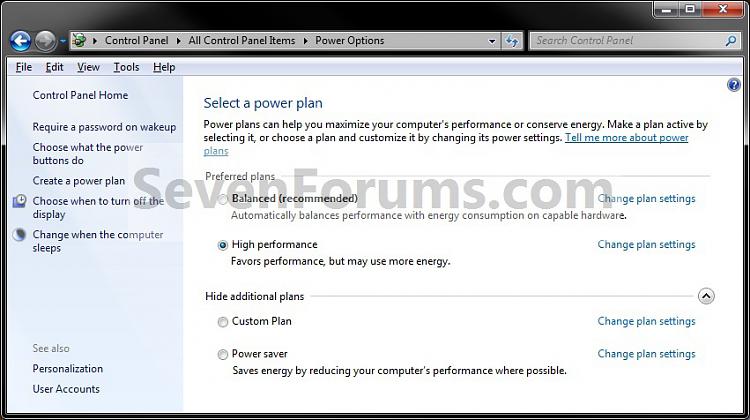
1. Open an elevated command prompt in Windows 7 or Windows 8.
2. To List and See All Power Plans
NOTE: This will give you a list of all of the power plans on your computer with the name and GUID number of each power plan.
A) In the elevated command prompt, type in powercfg list and press enter. (see screenshot below)3. To Export a Power Plan
NOTE: This will allow you to export a selected power plan as a pow file for a backup that can be imported into any Windows 7 computer to have that power plan available as a custom power plan on that computer.
A) In the elevated command prompt, type in the command below (in code box) for the power plan that you want to export, and press enter.
Note
- Substitute Power Plan Name in the command below for the name you want for the power plan file that you want to export. While it may be best to use the name of the power plan as displayed in step 2 above so you may better know which one it is, you can have any name you like for it.
- Substitute GUID in the command below for the actual long GUID number of the power plan that you want to export as shown in step 2 above.
Code:powercfg -export "%UserProfile%\Desktop\Power Plan Name.pow" GUID4. To Import a Power Plan
Balanced
High PerformanceCode:powercfg -export "%UserProfile%\Desktop\Balanced.pow" 381b4222-f694-41f0-9685-ff5bb260df2e
Power SaverCode:powercfg -export "%UserProfile%\Desktop\High Performance.pow" 8c5e7fda-e8bf-4a96-9a85-a6e23a8c635c
CustomCode:powercfg -export "%UserProfile%\Desktop\Power Saver.pow" a1841308-3541-4fab-bc81-f71556f20b4a
B) You will now have the .pow file (ex: Custom Plan.pow) exported (saved) to your desktop.Code:You will have to look at step 2 above for the GUID # and name since it will be different per computer.
C) Move the .pow where you like for safe keeping. This is the file you will need to import this power plan.
D) Go to step 5.
NOTE: This will allow you import a .pow file (power plan) that was exported using step 3 to be able to add it as a custom power plan to select and use.
A) In the elevated command prompt, type in the command below, and press Enter.
NoteSubstitute (Full Path of .pow file) in the command below for the the actual full path of the exported (step 3) .pow file with it's name and file extension included within quotes.
Code:powercfg -import "(Full Path of .pow file)"FOR EXAMPLE: If I have my exported (step 3) Custom Plan.pow file saved to my desktop, then I would type in either one of the commands exactly as below.B) The imported pow file (power plan) has now been added as a custom power plan to be able to select and use. Go to step 5 below.
Code:powercfg -import "%UserProfile%\Desktop\Custom Plan.pow"
OR
Code:powercfg -import "C:\Users\User-Name\Desktop\Custom Plan.pow"5. Close the elevated command prompt.That's it,
Shawn
Related Tutorials
- How to Select a Power Plan in Windows 7
- How to Change the Power Plan Settings in Windows 7
- How to Change Power Plan Settings in Windows 8
- How to Create or Delete a Custom Power Plan in Windows 7 and Windows 8
- How to Restore Default Power Plan Settings in Windows 7 and Windows 8
- How to Create a Shortcut to Change Power Plans in Windows 7 and Windows 8
- How to Create a "Power Options" Shortcut in Windows 7 and Windows 8
- How to Create an "Advanced Power Options" Shortcut in Windows 7 and Windows 8
- How to Rename a Power Plan Name in Windows 7 and Windows 8
- How to Specify a Default Power Plan for All Users in Vista, Windows 7, and Windows 8
Power Plans - Export and Import
-
New #1
Hello Cellepo, and welcome to Seven Forums.
It appears that you may have left out Desktop in the path in the command. Please try again to see how it works for you.
-
New #2
Hi Brink. My only problem with this is that I end up with two power schemes named Balanced. The original one doesn't seem deletable.
-
-
New #4
Yes, that's what I found. You can delete any custom scheme not currently in use. I didn't want two plans with the same name, so this is not going to work for me.
Oh wait - you did say rename, didn't you... Hmmm, that might work, but I might prefer to modify Balanced manually. Doing so gets old after a while though. Will have to see.
Thanks and be well,
-
New #5
You're most welcome Paul.
You might consider renaming the one you imported so as not to mess with your default ones.

Power Plans - Export and Import
How to Export and Import Power Plans in Windows 7 and Windows 8Published by Brink


 Quote
Quote
Related Discussions