Snipping Tool Margin

Page 1 of 2 12 LastLast

  1. Posts : 12
    Windows 7
       #1

    Snipping Tool Margin


    There is a lot of unnecessary white area around the image that is captured with the Snipping Tool. How does one reduce the size of the margin inside the Snipping Tool?
      My Computer


  2. Posts : 20,583
    Win-7-Pro64bit 7-H-Prem-64bit
       #2

    Hi and welcome to SevenForums,
    I would say use the rectangle snip option instead,
    Then drag around the area as you wish,
    Attachment 331198
    Last edited by ThrashZone; 22 Feb 2015 at 19:58.
      My Computer


  3. whs
    Posts : 26,210
    Vista, Windows7, Mint Mate, Zorin, Windows 8
       #3

    Here is a little video tutorial I made the other day for a friend of my wife. This is the Windows 8.1 version, but the operational part is the same in Windows 7. Maybe it helps.

    https://www.youtube.com/watch?v=1Gs5GelHi5s
      My Computer


  4. Posts : 25,847
    Windows 10 Pro. 64/ version 1709 Windows 7 Pro/64
       #4

    Another great tutorial.
    That should take the mystery out of the snipping tool.
      My Computer


  5. Posts : 12
    Windows 7
    Thread Starter
       #5

    I should have been more specific. Yes, if I save it, the margins are gone. However, when I capture, before I save, the margins are there.

    I use Snipping Tool to temporarily capture some settings ... allows me to do a comparison (saving and opening the saved file are two more steps). The wide margin consumes screen real estate ... unnecessarily.
      My Computer


  6. whs
    Posts : 26,210
    Vista, Windows7, Mint Mate, Zorin, Windows 8
       #6

    Sorry but I am a bit lost. Can you post an example and explain on it what the problem is.
      My Computer


  7. whs
    Posts : 26,210
    Vista, Windows7, Mint Mate, Zorin, Windows 8
       #7

    Layback Bear said:
    Another great tutorial.
    That should take the mystery out of the snipping tool.
    Thanks Jack, but that was really not intended as a general tutorial. The wife's friend had just asked for a helping hand and I wipped that up in a few minutes. For a general tutorial I would probably redo it because I was stuttering at a couple of places.
      My Computer


  8. Posts : 25,847
    Windows 10 Pro. 64/ version 1709 Windows 7 Pro/64
       #8

    Well thank your friend also for sharing the tutorial.

    I would also like to look at bhs67 snapshot post because I'm not understanding either.
      My Computer


  9. Posts : 6,330
    Multi-Boot W7_Pro_x64 W8.1_Pro_x64 W10_Pro_x64 +Linux_VMs +Chromium_VM
       #9

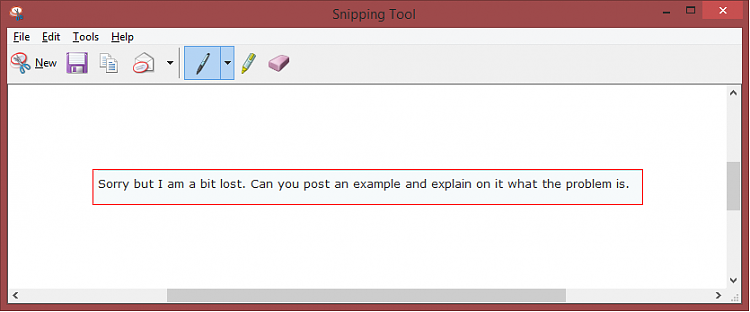
    This is a screen print of the snipping tool window - before the snip is saved.
    The text in the red rectangle is what I selected with the snipping tool.
    The OP would like to make all the white space around the actual snip smaller.
    It's apx 1" "white borders" around the actual snip.

    Snipping Tool Margin-sntsp01.png
      My Computer


  10. Posts : 17,322
    Win 10 Pro x64
       #10

    I think they are talking about this white background around the snip before it is saved,
    Attached Thumbnails Attached Thumbnails Snipping Tool Margin-border.jpg  
      My Computer


Page 1 of 2 12 LastLast

  Related Discussions
Our Sites
Site Links
About Us
Windows 7 Forums is an independent web site and has not been authorized, sponsored, or otherwise approved by Microsoft Corporation. "Windows 7" and related materials are trademarks of Microsoft Corp.

© Designer Media Ltd
All times are GMT -5. The time now is 05:54.
Find Us