
New
#1
"Frankenstein" build
I recently bought a new motherboard for myself and thought I'd use my old one to build a semi-new PC for the wife. since I would be using some old parts from other machines and some new items as well, I am calling this "Frankenstein".
Specs:
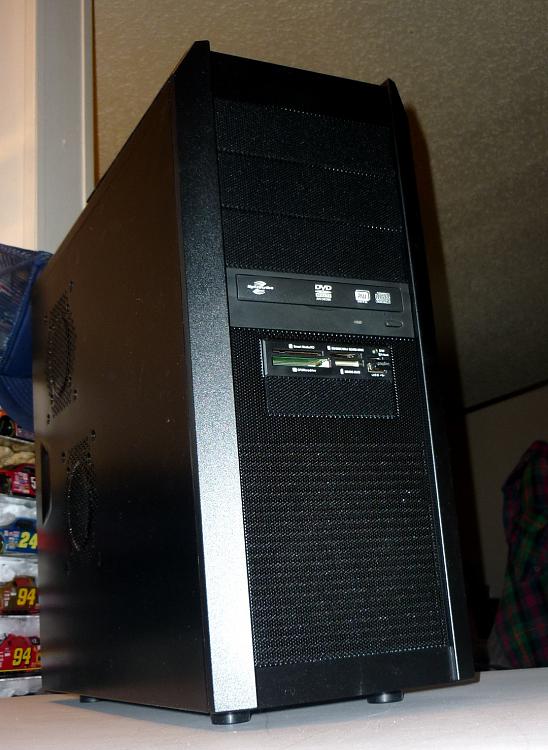
New
Rosewill Smart one Mid tower case
Rocketfish 500W modular PSU
Crucial M4 64GB SSD
Old/recycled
AMD PhenomII X4965BE 3.4GHz
Gigabyte GA-770TA-UD3 motherboard
GSkill Ripjaws 2x4GB 1600 7-8-7-24T RAM
Gigabyte ATI HD4670 graphics card
Enzotech CPU cooler
LiteOn DVD burner
Multi card reader with USB port
This is the case with fans powered to test a PSU for another build I will do.
New PSU mounted
A view inside the case
My work space
The motherboard ready to be mounted. I put on the CPU and cooler, RAM, and sometimes cables before mounting in the case.
My tool stash seem to take on a life of its own and grows.
Cables attached to mounted board
The two drives, SSD+data
While doing cabling I discover two mobo screws I forgot to put in. One was fairly easy, but this one was a nightmare to put in. The board was a tight fit and if I removed the cooler to get to the screw I wouldn't be able to re-attach the clips for it because of there not being room for fingers to reach them. Fortunately I had a very long screwdriver to help out which I magnetized the end of to hold the screw and lower to its hole.
There is only about a half inch space between the CPU fan and the case top fan.
The screw can just be seen here
Two views of the finished wiring, fairly neat and tidy for a cheap case. It has no side window to see it though.
Wiring behind the motherboard.
The job done.


Last edited by Britton30; 26 Jan 2012 at 14:02.

 Quote
Quote


