

How to Add or Remove the Security Tab in Internet Options
InformationThis will show you how to add or remove the Security tab in the Internet Options properties window of Internet Explorer for all or specific users in Vista, Windows 7, and Windows 8.
If removed, any settings made in the Security tab prior to being removed will still be used.
- If opened from within Internet Explorer, it is called Internet Options.
You must be logged in as an administrator to be able to do this tutorial.
- If opened from the Control Panel, it is called Internet Properties.
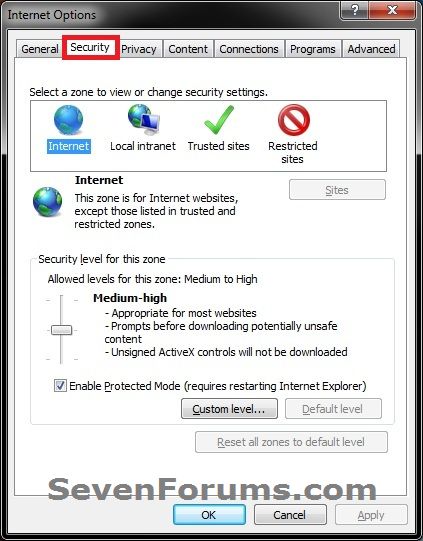
EXAMPLE: Security Tab in Internet Options
OPTION ONEUsing a REG File Download
1. To Add "Security" Tab to Internet Options for Only Current User
NOTE: This is the default setting.
A) Click/tap on the Download button below to download the file below, and go to step 3 below.
Add_Security_Tab_Internet_Options.reg2. To Remove "Security" Tab from Internet Options for Only Current User
A) Click/tap on the Download button below to download the file below, and go to step 3 below.3. Save the .reg file to your desktop.
Remove_Security_Tab_Internet_Options.reg
4. Double click/tap the downloaded .reg file to merge it.
5. Click/tap on Run, Yes (UAC Windows 7/8) or Continue (UAC Vista), Yes, and OK when prompted.
6. Close and reopen Internet Options if already opened.
7. When done, you can delete the downloaded .reg file if you like.
OPTION TWOThrough the Local Group Policy Editor
1. Open the all users, specific users or groups, or all users except administrators Local Group Policy Editor for how you want this policy applied.2. In the left pane, click/tap on to expand User Configuration, Administrative Templates, Windows Components, Internet Explorer, and Internet Control Panel. (see screenshot below)That's it,
3. In the right pane, double click/tap on Disable the Security page to edit it. (see screenshot above)
4. To Add "Security" Tab to Internet Options
A) Select (dot) either Not Configured or Disabled, and go to step 6 below. (see screenshot below step 6)5. To Remove "Security" Tab from Internet Options
NOTE: Not Configured is the default setting.
A) Select (dot) Enabled, and go to step 3 below. (see screenshot below step 6)6. Click/tap on OK. (see screenshot below)
7. Close the Local Group Policy Editor window.
8. Close and reopen Internet Options if already opened.
Shawn
Related Tutorials
- How to Add or Remove Sites in Internet Explorer Security Zones
- How to Enable or Disable Ability to Add or Remove Sites from Internet Explorer Security Zones
- How to Enable or Disable Changing Security Zone Level Settings in Internet Explorer
- How to Open Internet Options for Internet Explorer in Windows 8 and 8.1
- How to Create Internet Options Shortcuts in Windows
- How to Add or Remove the Security Tab from Properties in Windows 7
- How to Add or Remove the General Tab in Internet Options
- How to Add or Remove the Privacy Tab in Internet Options
- How to Add or Remove the Content Tab in Internet Options
- How to Add or Remove the Connections Tab in Internet Options
- How to Add or Remove the Programs Tab in Internet Options
- How to Add or Remove the Advanced Tab in Internet Options
- How to Add or Remove the Security Tab in Windows Media Player Options
- How to Enable or Disable "Internet Options" in Windows
Internet Options - Add or Remove Security Tab

Internet Options - Add or Remove Security Tab
How to Add or Remove the Security Tab in Internet OptionsPublished by Brink


Related Discussions