

How to Create a Windows Features Shortcut in Windows 7 and Windows 8
InformationWindows Features will allow you to easily turn features on or off at will in Windows.
This tutorial will show you how to create or download a Windows Features shortcut that opens directly to the Turn Windows features on or off settings in Windows 7 and Windows 8.
WarningYou will need to be logged in as an administrator to be able to open Windows Features.
EXAMPLE: Windows Features
NOTE: These are the default settings in Windows 7 Ultimate.
OPTION ONETo Download a "Windows Features" Shortcut
1. Click/tap on the download button below to download the file below.
Windows_Features.zip2. Save the .zip file to your desktop.
3. Open the .zip file and extract the Windows Features shortcut to the desktop.
4. Unblock the Windows Features shortcut, and click on Properties, General tab, and on the button.
5. In Windows 7, you can now Pin to Taskbar or Pin to Start Menu, add to Quick Launch, assign a keyboard shortcut to it, or move this shortcut to where you like for easy use.
6. In Windows 8, you can Pin to Taskbar on desktop, Pin to Start screen, add to Quick Launch, assign a keyboard shortcut to it, or move this shortcut to where you like for easy use.
7. When finished, you can delete the downloaded .zip file if you like.
OPTION TWOTo Manually Create a "Windows Features" Shortcut
1. Right click or press and hold on an empty area on your desktop, and click/tap on New and Shortcut. (see screenshot below)
2. Copy and paste either location below into the location area, and click/tap on the Next button. (See screenshot below)
rundll32.exe shell32.dll,Control_RunDLL appwiz.cpl,,2
OR
%windir%\System32\OptionalFeatures.exe3. Type Windows Features for the name, and click/tap on the Finish button. (See screenshot below)That's it,
NOTE: You can name this anything you would like though.
4. Right click or press and hold on the new Windows Features shortcut, and click/tap on Properties.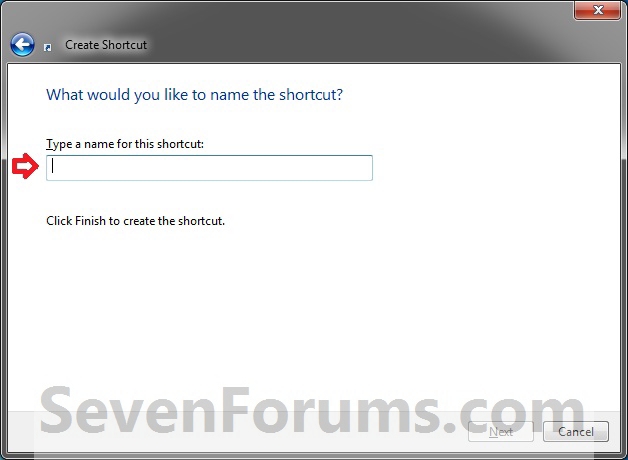
5. Click/tap on the Shortcut tab, then click/tap on the Change Icon button. (see screenshot below)
6. In the line under "Look for icons in this file", copy and past the path below ,and press Enter. (see screenshot below)
%windir%\System32\imageres.dll7. Select the icon highlighted in blue above ,and click/tap on OK. (see screenshot above)
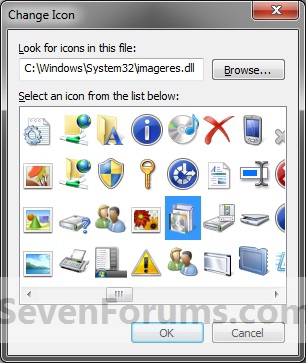
NOTE: You can use any icon that you would like instead though.
8. Click/tap on OK. (see screenshot below)
9. In Windows 7, you can now Pin to Taskbar or Pin to Start Menu, add to Quick Launch, assign a keyboard shortcut to it, or move this shortcut to where you like for easy use.
10. In Windows 8, you can Pin to Taskbar on desktop, Pin to Start screen, add to Quick Launch, assign a keyboard shortcut to it, or move this shortcut to where you like for easy use.
Shawn
Windows Features - Create Shortcut
-
New #1
Thank you for the shortcut!
-
New #2
Thanks Shawn., I do great repair with this shortcut, and it can be used for fix: "Cannot open Turn Windows features on or off - Getting Errror: "Windows cannot find 'C:\ProgramData\Microsoft\Windows\Start Menu\Programs\Administrative Tools\Server Manager.lnk'. Make sure you typed the name correctly, and then try again." I use command (path) rundll32.exe shell32.dll,Control_RunDLL appwiz.cpl ,,2 and make shortcut, name it to "Server Manager" and move to C:\ProgramData\Microsoft\Windows\Start Menu\Programs\Administrative Tools !!! Now I can open it from Control panel (programs and features) !!! Please think about it to post it as solution for that ! I can not find solution on web, but thin a little and make this ! P.S. And one question for you Brink: As i think something like "Server Manager.lnk" never was exist in Windows 7 ! It's look very strange in ProgramData\Microsoft\Windows\Start Menu\Programs\Administrative Tools , but it's solve problem and working !!! - Maybe it was, but with different name ??? , So if you be so kind to solve that mystery and explain what was happen ???Last edited by Zenicablues; 03 Jul 2016 at 08:39.
-
New #3
Hello Zenicablues, :)
I'm afraid that I'm 100% sure of what you're asking, but it looks like you should be able to just change the icon of the "Server Manager" shortcut to what you want.
Shortcut - Change Icon
-
New #4
Shawn, Thanks for quick reply, but you maybe don't see my question !!! Does Server Manager.lnk even ever was exist in ProgramData\Microsoft\Windows\Start Menu\Programs\Administrative Tools ??? I never see this since windows 7 exist !!! (There is "C:\Windows\System32\OptionalFeatures.exe" but nothing called as "Server Manager" should not be in Windows 7 !!! So please answer me if there this as default shortcut there ??? Thank You in advance !!! Zenicablues
-
New #5
Server Manager is not included in Administrative Tools.
The target location/path you used for Server Manager is actually for Windows Features instead though.
-
New #6
That is what I talking about ! But therefor why I was get this wired error message: 'Windows cannot find 'C:\ProgramData\Microsoft\Windows\Start Menu\Programs\Administrative Tools\Server Manager.lnk'
-

Windows Features - Create Shortcut
How to Create a Windows Features Shortcut in Windows 7 and Windows 8Published by Brink


 Quote
Quote
Related Discussions