How to post a proper screen capture image of your Disk Management screen
Information
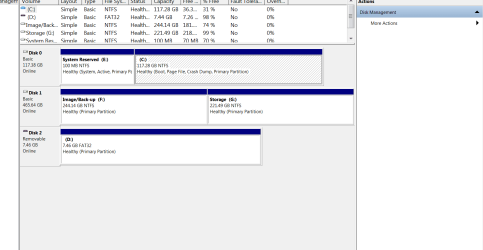
If you are seeking help with Windows 7, you will often be asked to include a screen capture image of your Disk Management screen. A well executed capture of the Disk Management screen means you get accurate advice in the quickest possible time.
This short tutorial will show you how to do this the easiest way.
This short tutorial will show you how to do this the easiest way.
Steps:
1. Click
 rb:
rb:2. Right-click My Computer
3. Click Manage

4. From the Computer Management screen that opens, click Disk Management.
5. This step is the most important. Maximize the Disk Management window so it fills your entire screen. Resize the window components so the status and sizes of the partitions are clearly shown.

6. Use the in-built Windows Snipping tool to capture and save an image of the Disk Management screen:
Click
rb:, then All Programs, then Accessories, then Snipping Tool. 7. Upload the saved image with your post by using the paper clip icon.
How to Upload and Post a Screenshot and File in Seven Forums
Tip
If you are using 3rd party partition software (e.g. Partition Wizard) to view your disk/partition arrangement, and plan to post a screen capture image of that, then follow the same recommendations in step 5 above
Regards,
Golden
Last edited:
 But yes, your screenshot is good.