How to Set the "Default Save Location" Folder for a Library in Windows 7
Information
This will show you how to set an included folder in a Windows 7 library as the default save location folder to save everything new, that is copied or moved into that library, to that folder location. By default, everything in a library is saved into a Personal user folder.
Note
Libraries let you access and arrange items from one or more folders quickly without moving them from their original location. Libraries themselves don't store your files or folders. Instead, they point to different locations on a hard disk or external drive attached to your computer. This gives you easy access to a category of files no matter where they are stored. For instance, if you have music files on your hard disk and on an external drive, you can access all of your music files from within the "Music" library.
For more information about Windows 7 Libraries see:
For more information about Windows 7 Libraries see:
Tip
The full path to the hidden Libraries folder is below.
C:\Users\(User-Name)\AppData\Roaming\Microsoft\Windows\Libraries
OR
%AppData%\Microsoft\Windows\Libraries
C:\Users\(User-Name)\AppData\Roaming\Microsoft\Windows\Libraries
OR
%AppData%\Microsoft\Windows\Libraries
Here's How:
1. Open Windows Explorer, and click on Libraries in the navigation pane. (see screenshot below step 2)
2. Right click on the library (ex: Music) that you want to set the default save included folder for, and click on Properties. (see screenshot below)

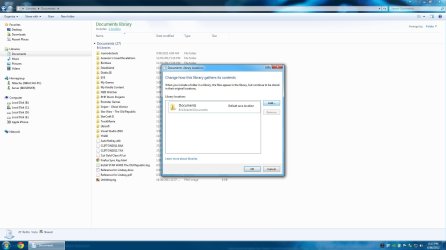
A) Select (hightlight) the included folder that you want to set as the default save to folder, and click on the Set save location button. (see screenshot below)

B) Go to step 4.
OR
3. Open the library (ex: Music) that you want to set the default save included folder for. (see screenshot below step 2)
A) Click on the # Locations toolbar button. (see screenshot below)

B) Right click on the included folder that you want to set as the default save to folder, then click on Set as default save location. (see screenshots below)

4. Click on OK. (see screenshots below steps 2A or 3B)
NOTE: You will notice that the new default save location folder has a check mark next to it.
5. Close the library window when done. (see screenshot below step 3A).
NOTE: You will not see this if you did step 2 instead of step 3.
6. Close the Libraries window when done. (see screenshot below step 2)
That's it,
Shawn
Related Tutorials
- User Folders in Windows 7 Libraries
- How to Restore the Default Libraries in Windows 7
- How to Fix Libraries when Hidden and Empty in Windows 7
- How to Hide or Show a Library in the Windows 7 Navigation Pane
- How to Create a New Library in Windows 7
- How to Include a Folder in a Library in Windows 7
- How to Include a Network Drive or Folder in a Library in Windows 7
- How to Remove a Included Folder from a Library in Windows 7
- How to Change a Library Icon in Windows 7
- How to Create a Windows 7 Downloads Library with the Correct Icon
- How to Create a Windows 7 Games Library with the Correct Icon
- How to Create a Windows 7 Favorites Library with the Correct Icon
- How to Create a Windows 7 "Searches" Library with the Correct Icon
- How to Create a Windows 7 "Links" Library with the Correct Icon
- How to Turn the Library Pane On or Off in Windows 7
Last edited:
")
