How to Change the Network Name and Icon in Windows 7
Information
This tutorial will show you how to change the network name and icon in the Network and Sharing Center.
OPTION ONE
Change Network Name and Icon in Network and Sharing Center
1. Click or right click on the Network icon in the notification area, then click on Open Network and Sharing Center. (See screenshot below)

OR
2. Open the Control Panel (icons view), and click on the Network and Sharing Center icon.
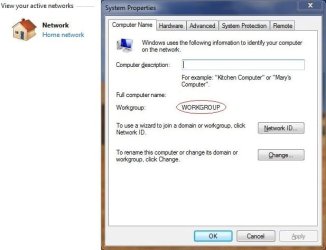
3. Click on an active network icon. (See screenshot below)
NOTE: This will not work with a unidentified network.

4. This will open the Set Network Properties window. (See screenshot below)

5. To Change the Network Name
A) In the Network name field, type the new name you want for your network. (See screenshot above)
6. To Change the Network Icon
A) Click on the Change button. (See screenshot below step 4)
B) Select a icon, or browse to the location of a icon, for your network and click on OK.

7. Click on OK to apply your settings. (See screenshot below)

8. The network name and/or icon are now changed. (See screenshot below)

OPTION TWO
To Change Network Name in Registry Editor
1. Press the Windows + R keys to open the Run dialog, type regedit, and press Enter.
2. If prompted by UAC, then click/tap on Yes.
3. In Registry Editor, navigate to the location below. (see screenshot below)
Code:
HKEY_LOCAL_MACHINE\SOFTWARE\Microsoft\Windows NT\CurrentVersion\NetworkList\Profiles
4. Double click/tap on the Profiles key to expand it. Click/tap on each long GUID number subkey, and look at it's PofileName string value in the right pane to see if it has the current network name (ex: Network) until found. (see screenshot below)

5. When found, double click/tap on the PofileName string value to modify it. (see screenshot above)
6. Type in a new name for the network you want, and click/tap on OK. (see screenshot below)
Note
A network name cannot contain tabs or any of the following characters:
\ / : * ? < > |
\ / : * ? < > |

7. When finished, you can now close Registry Editor if you like
8. Sometimes you may need to sign out and in of your user account to fully apply the new network name.
That's it,
Shawn
Related Tutorials
- How to Set the Windows 7 Network Location Type
- How to Set Unidentified Networks to be a Private or Public Network Location
- How to Create a Network and Sharing Center Shortcut in Windows 7
- How to Enable or Disable Changing a Network Icon in Windows 7
- How to Enable or Disable Changing a Network Name in Windows 7
- How to View and Change the Computer Name in Windows 7
- How to View and Change the Workgroup Name in Windows 7
Last edited:
")

 to no avail. Silly of me not to notice the pointer change and try a regular (left) click. Alas, I blame in on age. :drool: