

How to Open and Use Display Color Calibration in Windows 7
InformationCalibrating your display helps to ensure that colors are represented accurately on your monitor. This will show you how to use Display Color Calibration to calibrate your display in Windows 7.NoteDisplay Color Calibration improves your display color by enabling you to change different color settings. After you adjust the different color settings using Display Color Calibration, you will have a new calibration that contains your new color settings. The new calibration will be associated with your screen display and used by color-managed programs.
The color settings that you can change, as well as how you change those color settings, depend on your monitor's display and its capabilities. Not all monitors have the same color capabilities and settings, so you might not be able to change all the different color settings when using Display Color Calibration.TipIf you have a display calibration device that came with other software, consider using the color measurement device with the accompanying software instead of Display Color Calibration. Using the calibration device with the accompanying calibration software that often comes with it can help you get the best color on your display. In general, using a color measurement instrument to calibrate your display will result in a better calibration compared to the results of doing a visual calibration (which is done in Display Color Calibration).WarningColor corrections made to the Intel integrated graphics by Windows Color Management or other third-party utilities will be reset to the drivers default settings after hibernation or sleep. Intel integrated graphics settings have priority over Operating System or third party applications for Color Management.
More: Graphics; Color corrections reset after hibernation or sleep
UPDATE:
It has been reported that disabling the igfxpers.exe Intel's persistence module process in Task Manager will allow the color profile to stick after restarting the computer.
On ASUS laptops, turning off and uninstalling the ASUS Splendid utility will stop this.
Here's How:
1. Before starting Display Color Calibration, make sure that your display is set to its native screen resolution.
NOTE: This helps to improve the accuracy of the resulting calibration.
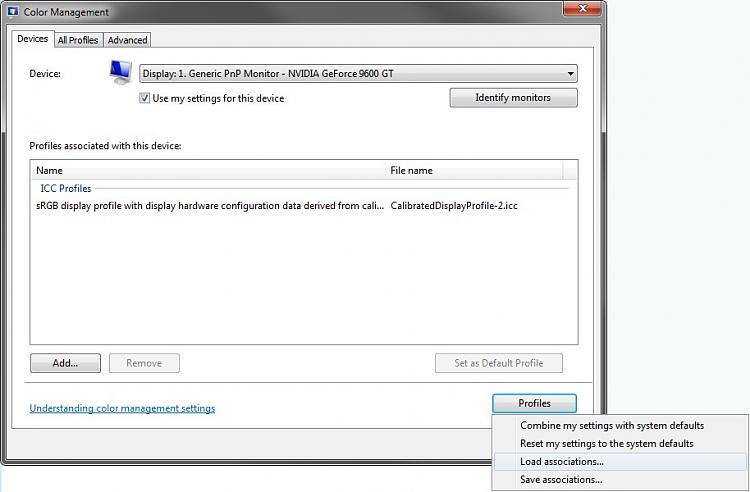
2. Open the Control Panel (Icons View), and click on the Color Management icon.
3. Click on the Advanced tab, and on the Change system defaults button. (see screenshot below)
4. If prompted by UAC, then click on Yes.
5. Click on the Advanced tab, and on the Calibrate display button. (see screenshot below)
6. Move the window to display on the display monitor that you want to calibrate, then click on Next. (see screenshot below)
7. Set the display that you want to calibrate to it's default basic color settings, then click on Next. (see screenshot below)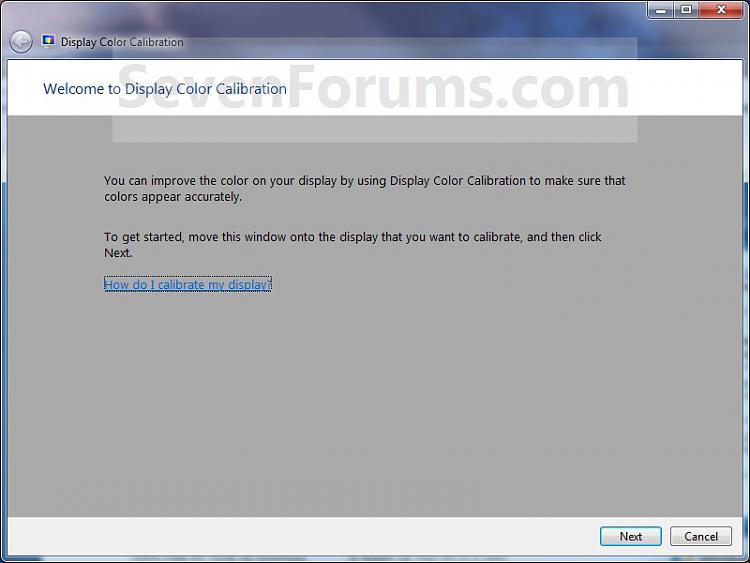
8. Read the how to adjust gamma instructions, then click on Next when ready. (see screenshot below)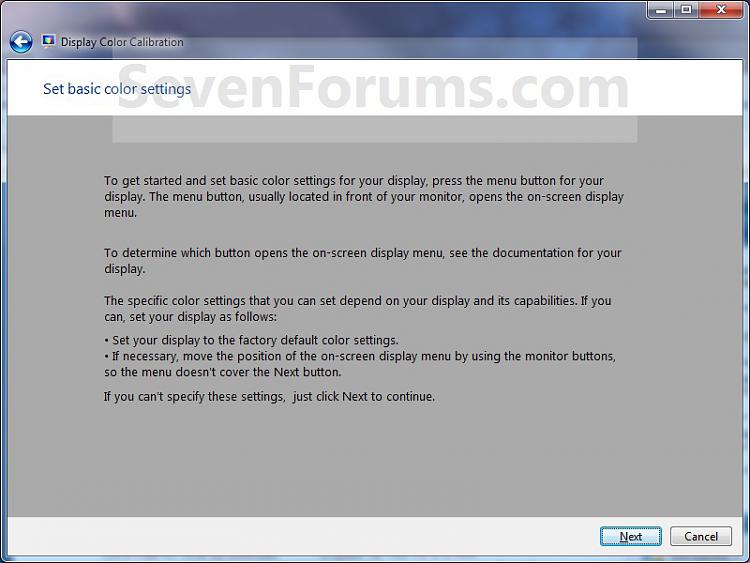
9. Adjust your gamma settings, then click on Next. (see screenshot below)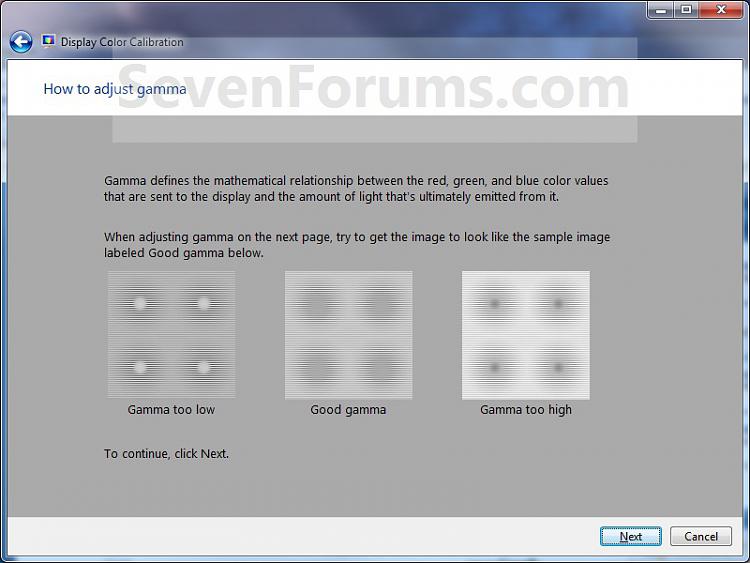
10. If you want to adjust the brightness and contrast settings for the display, then click on Next and continue on to step 11. If not, then click on the Skip brightness and contrast adjustment button, then go to step 15. (see screenshot below)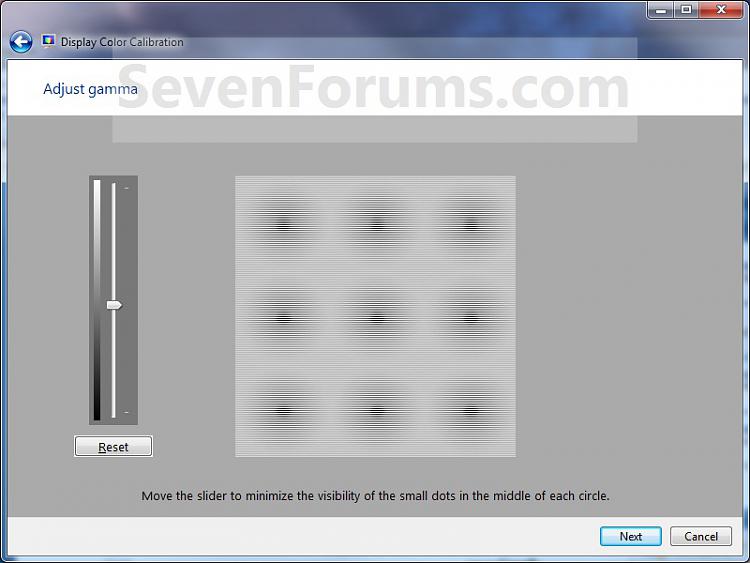
11. Read the how to adjust brightness instructions, then click on Next when ready. (see screenshot below)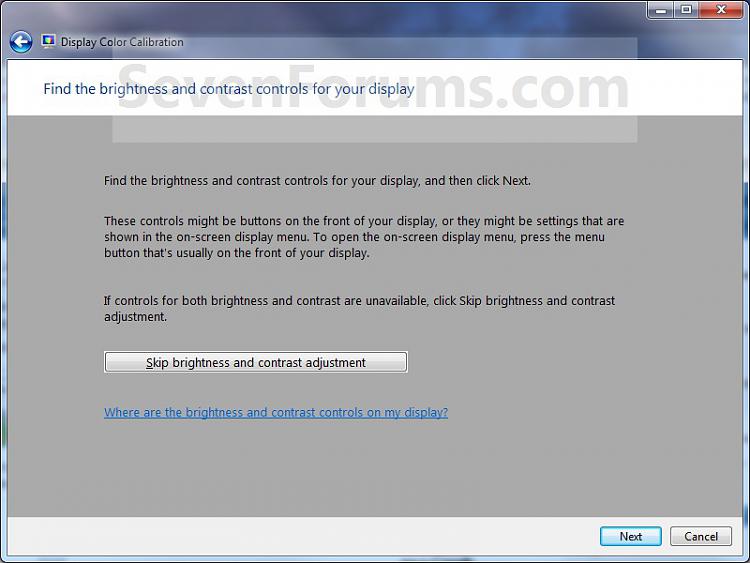
12. Adjust your brightness settings, then click on Next. (see screenshot below)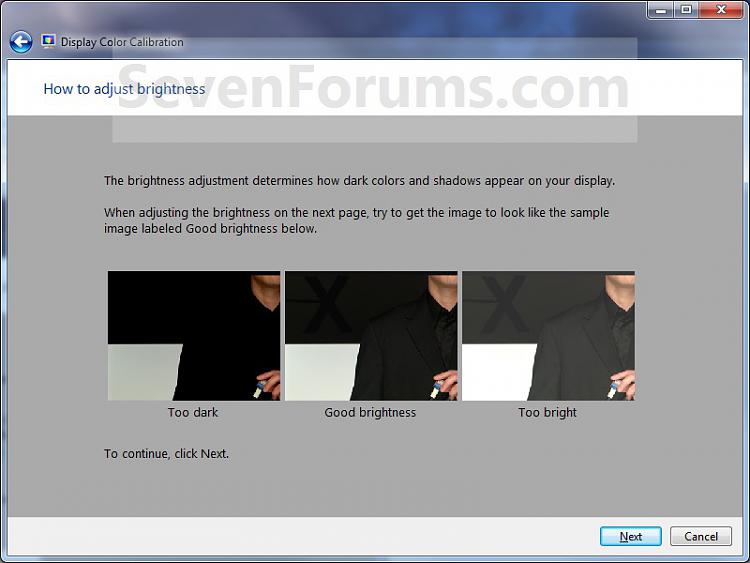
13. Read the how to adjust the contrast instructions, then click on Next when ready. (see screenshot below)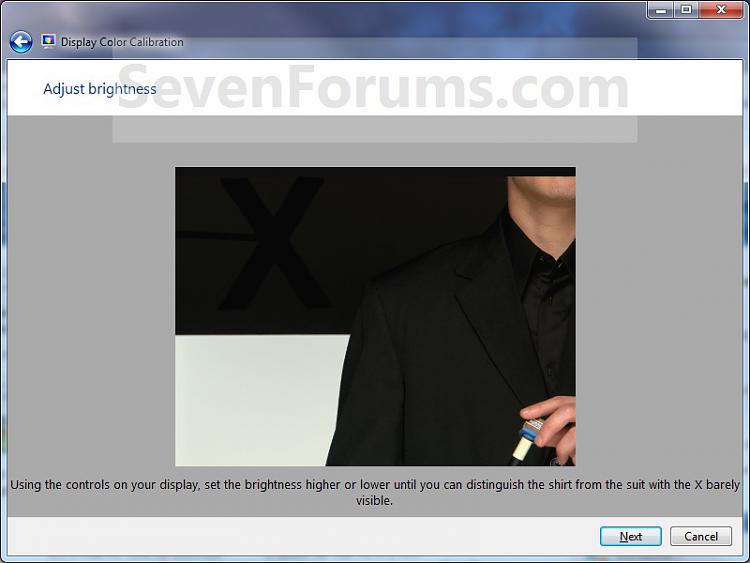
14. Adjust your contrast settings, then click on Next. (see screenshot below)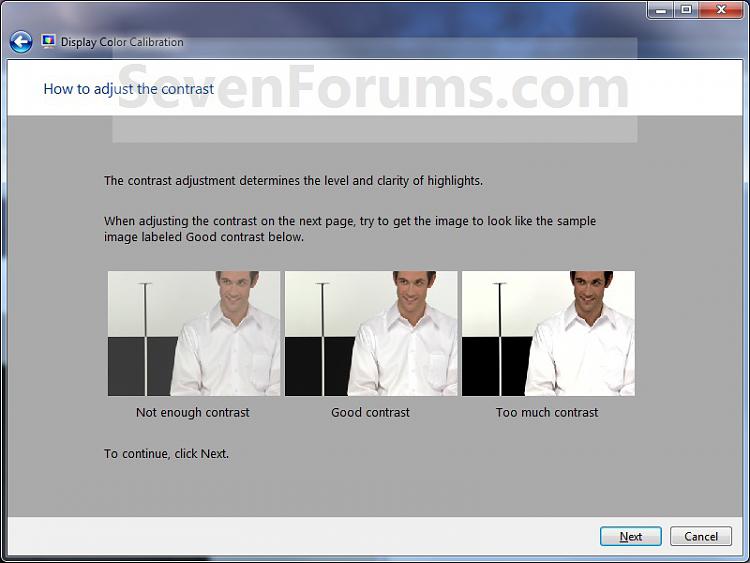
15. Read the how to adjust color balance instructions, then click on Next when ready. (see screenshot below)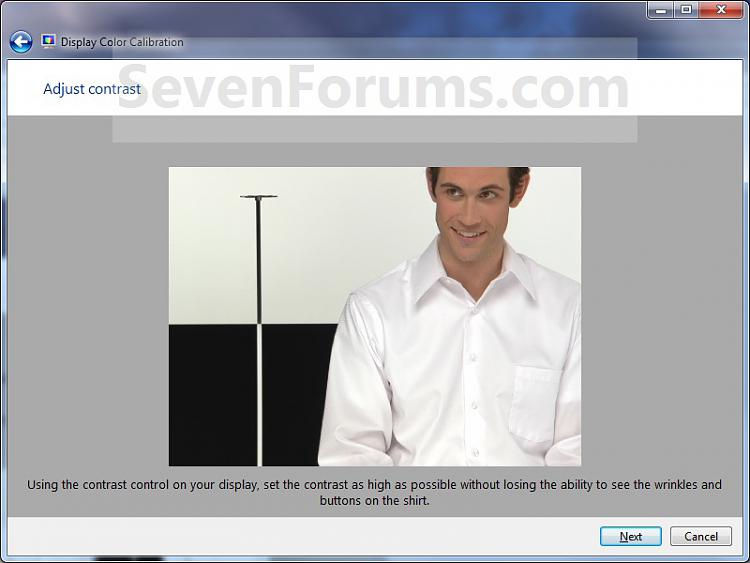
16. Adjust your color balance settings, then click on Next. (see screenshot below)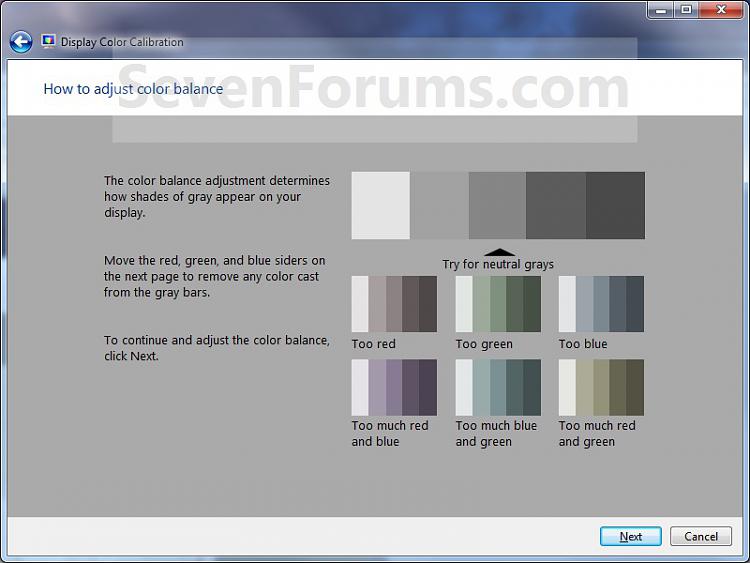
17. The display is now calibrated. You can compare this new Current calibration with the Previous calibration. (see screenshot below step 19)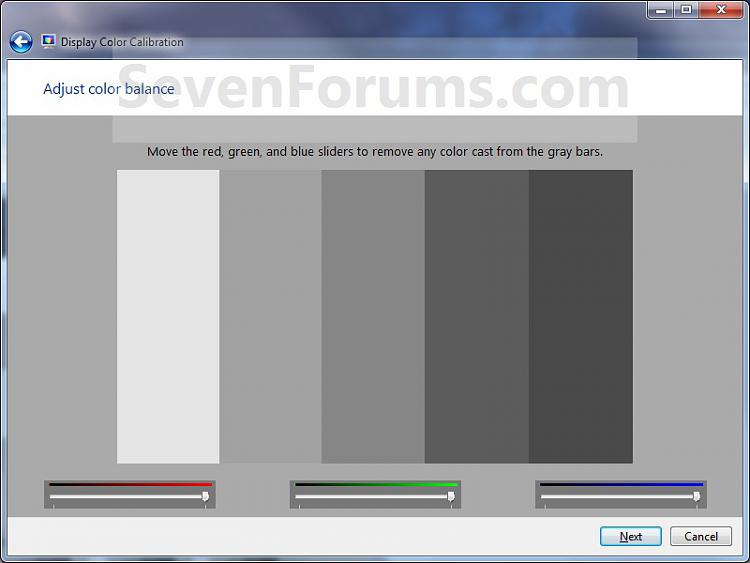
18. If you wish to start ClearType Tuner to help make the text on your screen sharp and clear after you click on Finish below, then leave the box checked. Uncheck the box if you do not want to have ClearType Tuner open. (see screenshot below step 19)
19. Click on Finish to save and use this new Current calibration, or click on Cancel to cancel these changes and use the Previous calibration. (see screenshot below)
20. From the screenshot under step 3 above, click on the Devices tab, select the monitor that you just calibrated, select the "calibrated" profile you want, click on the Set as Default Profile button, and click on Close. (see screenshot below)
21. Click on Close. (see screenshot below step 3)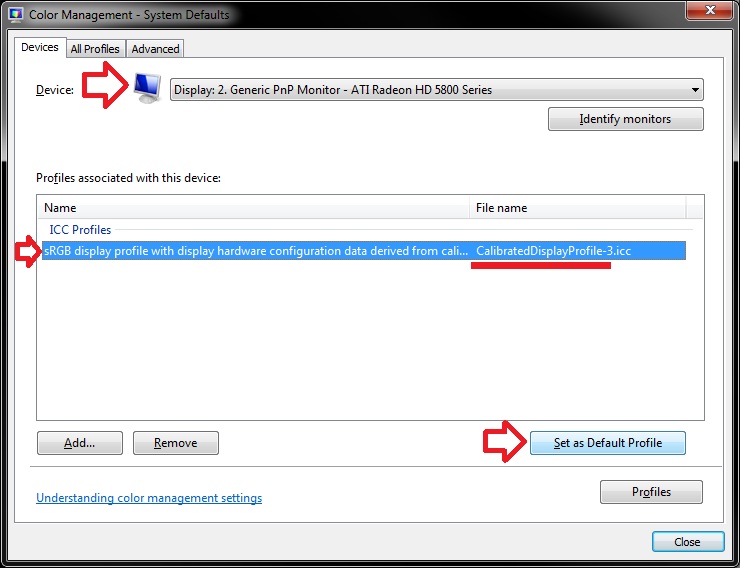 NoteIt has been reported that the Sony Vaio"VGN-NW240F" has a proprietary Sony service that conflicts with the display driver and does not allow the display driver to save settings permanently. For example, the saved color calibration. They will be reset on log-off or re-boot producing a very pink looking hue. Disabling the Sony Vaio service has been reported to resolve this problem.
The side affect is that you lose the function keys that dim and brighten the display, but a simple desktop gadget could be used to replace the keys.
That's it,
Shawn
Related Tutorials
Display Color Calibration
-
New #1
Thanks for the info but where are these settings stored?
I'm about to install 7100, replacing 7077 (not upgrading) but don't wan't to go thru the calibration of both screens again. It would be handy if I could export the settings first.
Any help appreciated.
Aaron
-
New #2
Hello Aaron,
In Color Management, you can click on the the Devices tab, Profiles button at bottom, then select to Load or Save the associations. :)
Hope this helps,
Shawn
-
New #3
-
-
New #5
-
-
New #7
try to calibrate my display with Acer P205H LCD Screen bcoz it seems the gamma is lil over for my eyes... but i got an error msg[s]:
after the calibration, windows can't save the changes and i dunno why ...
...
i tried close any application that i think associates with display but it's still can't...
fyi, i'm using W7 build 7100 (RC1)
-
New #8
Hello DeadGoat,
I'm not sure what may be causing those errors for you. You might see if booting into Safe Mode and running it there may work better.
-
New #9
thanx for the idea mr. brink... i'll save it for later 'RnD' , for now i got work to do wif my 7....
Display Color Calibration
How to Open and Use Display Color Calibration in Windows 7Published by Brink


 Quote
Quote


Related Discussions